Capturing stunning night photos on your iPhone is possible—but it takes more than just pointing and shooting.
Whether you’re photographing city lights, the moon, or a night skyline, the right camera settings can take your iPhone night photography from average to professional.
In this guide, we break down the best iPhone camera settings for night photography, explain how to use them, and share expert tips to help you get sharp, vibrant low-light shots with your iPhone.
Why Night Photography is Tricky on Mobile
Low light conditions make it harder for any camera to capture sharp, well-exposed images. Even though iPhones are equipped with advanced sensors and software like Night Mode and Deep Fusion, knowing how to manually control certain settings will significantly improve your results.
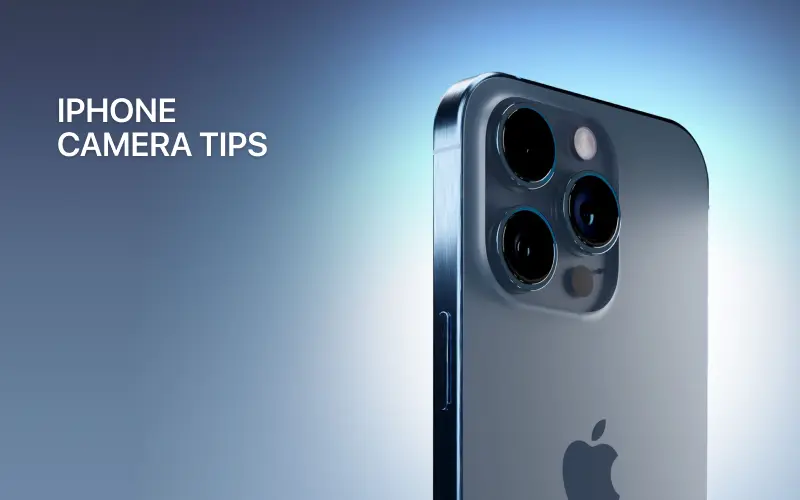
Top iPhone Models for Night Photography (2025)
If you’re using any of the models below, you’re already equipped with strong night photography tools:
- iPhone 15 Pro / Pro Max
- iPhone 14 Pro / Pro Max
- iPhone 13 Pro / Pro Max
- iPhone 12 Pro / Pro Max
These models support Night Mode, ProRAW, Sensor-Shift Stabilization, and more.
Best iPhone Camera Settings for Night Photography
Here’s a breakdown of the essential settings and features to adjust for better night photography:
| Setting / Feature | Recommended Adjustment | Why It Matters |
|---|---|---|
| Night Mode | Enabled (auto or manual, up to 30 sec exposure) | Captures more light and detail in low-light environments |
| Exposure Time | 5–10 seconds (manual or auto in Night Mode) | Longer exposure captures more detail in dark scenes |
| Focus | Tap to focus manually on your subject | Prevents blurry or soft images |
| ISO | Keep ISO low (if using third-party apps like Halide) | Reduces noise in night shots |
| ProRAW Format | Enabled (Settings > Camera > Formats > Apple ProRAW) | Gives you more editing flexibility in post-processing |
| Flash | Turn OFF | Avoids harsh lighting and overexposure |
| HDR | Leave ON (Smart HDR) | Helps balance highlights and shadows |
| Tripod or Stable Surface | Always use one | Prevents camera shake during long exposures |
Step-by-Step: How to Shoot Better Night Photos on iPhone
1. Use Night Mode Smartly
When Night Mode is available, you’ll see a moon icon appear. Tap it to manually adjust exposure time. Use the longest exposure (up to 30 seconds) for best results—especially when using a tripod.
2. Shoot in Apple ProRAW
If you’re using iPhone 12 Pro or newer, enable ProRAW in camera settings. This gives you more control when editing your photo later, especially with shadow detail and noise reduction.
3. Lock Focus and Exposure
Tap and hold your subject to lock focus and exposure. Then slightly lower the exposure if the scene looks too bright.
4. Stabilize Your Shot
Use a tripod or rest your phone on a flat surface. Even a slight hand movement can ruin a long-exposure shot.
5. Use a Third-Party App for Manual Control
Apps like Halide, ProCamera, or Manual allow you to control ISO, shutter speed, and white balance—something the native iPhone camera doesn’t offer in full.
Post-Editing Tips for iPhone Night Photography
- Use Photos App or Lightroom Mobile to adjust brightness, contrast, and shadows.
- Reduce noise with Lightroom’s noise reduction tool.
- Enhance sharpness and clarity selectively using masking tools.
When to Use Flash at Night
Avoid using flash unless you’re shooting a very close subject. Instead, use ambient light sources like street lights or neon signs to creatively light your subject.
Final Thoughts
The iPhone is more powerful than ever when it comes to night photography—but the magic lies in using the right settings.
By understanding how Night Mode works, locking in manual focus, enabling ProRAW, and using a stable shooting method, you can capture crisp, noise-free night photos straight from your phone.
Take time to experiment, edit thoughtfully, and don’t forget—a steady hand (or tripod) is your best friend in the dark.